Basics of coffee roasting
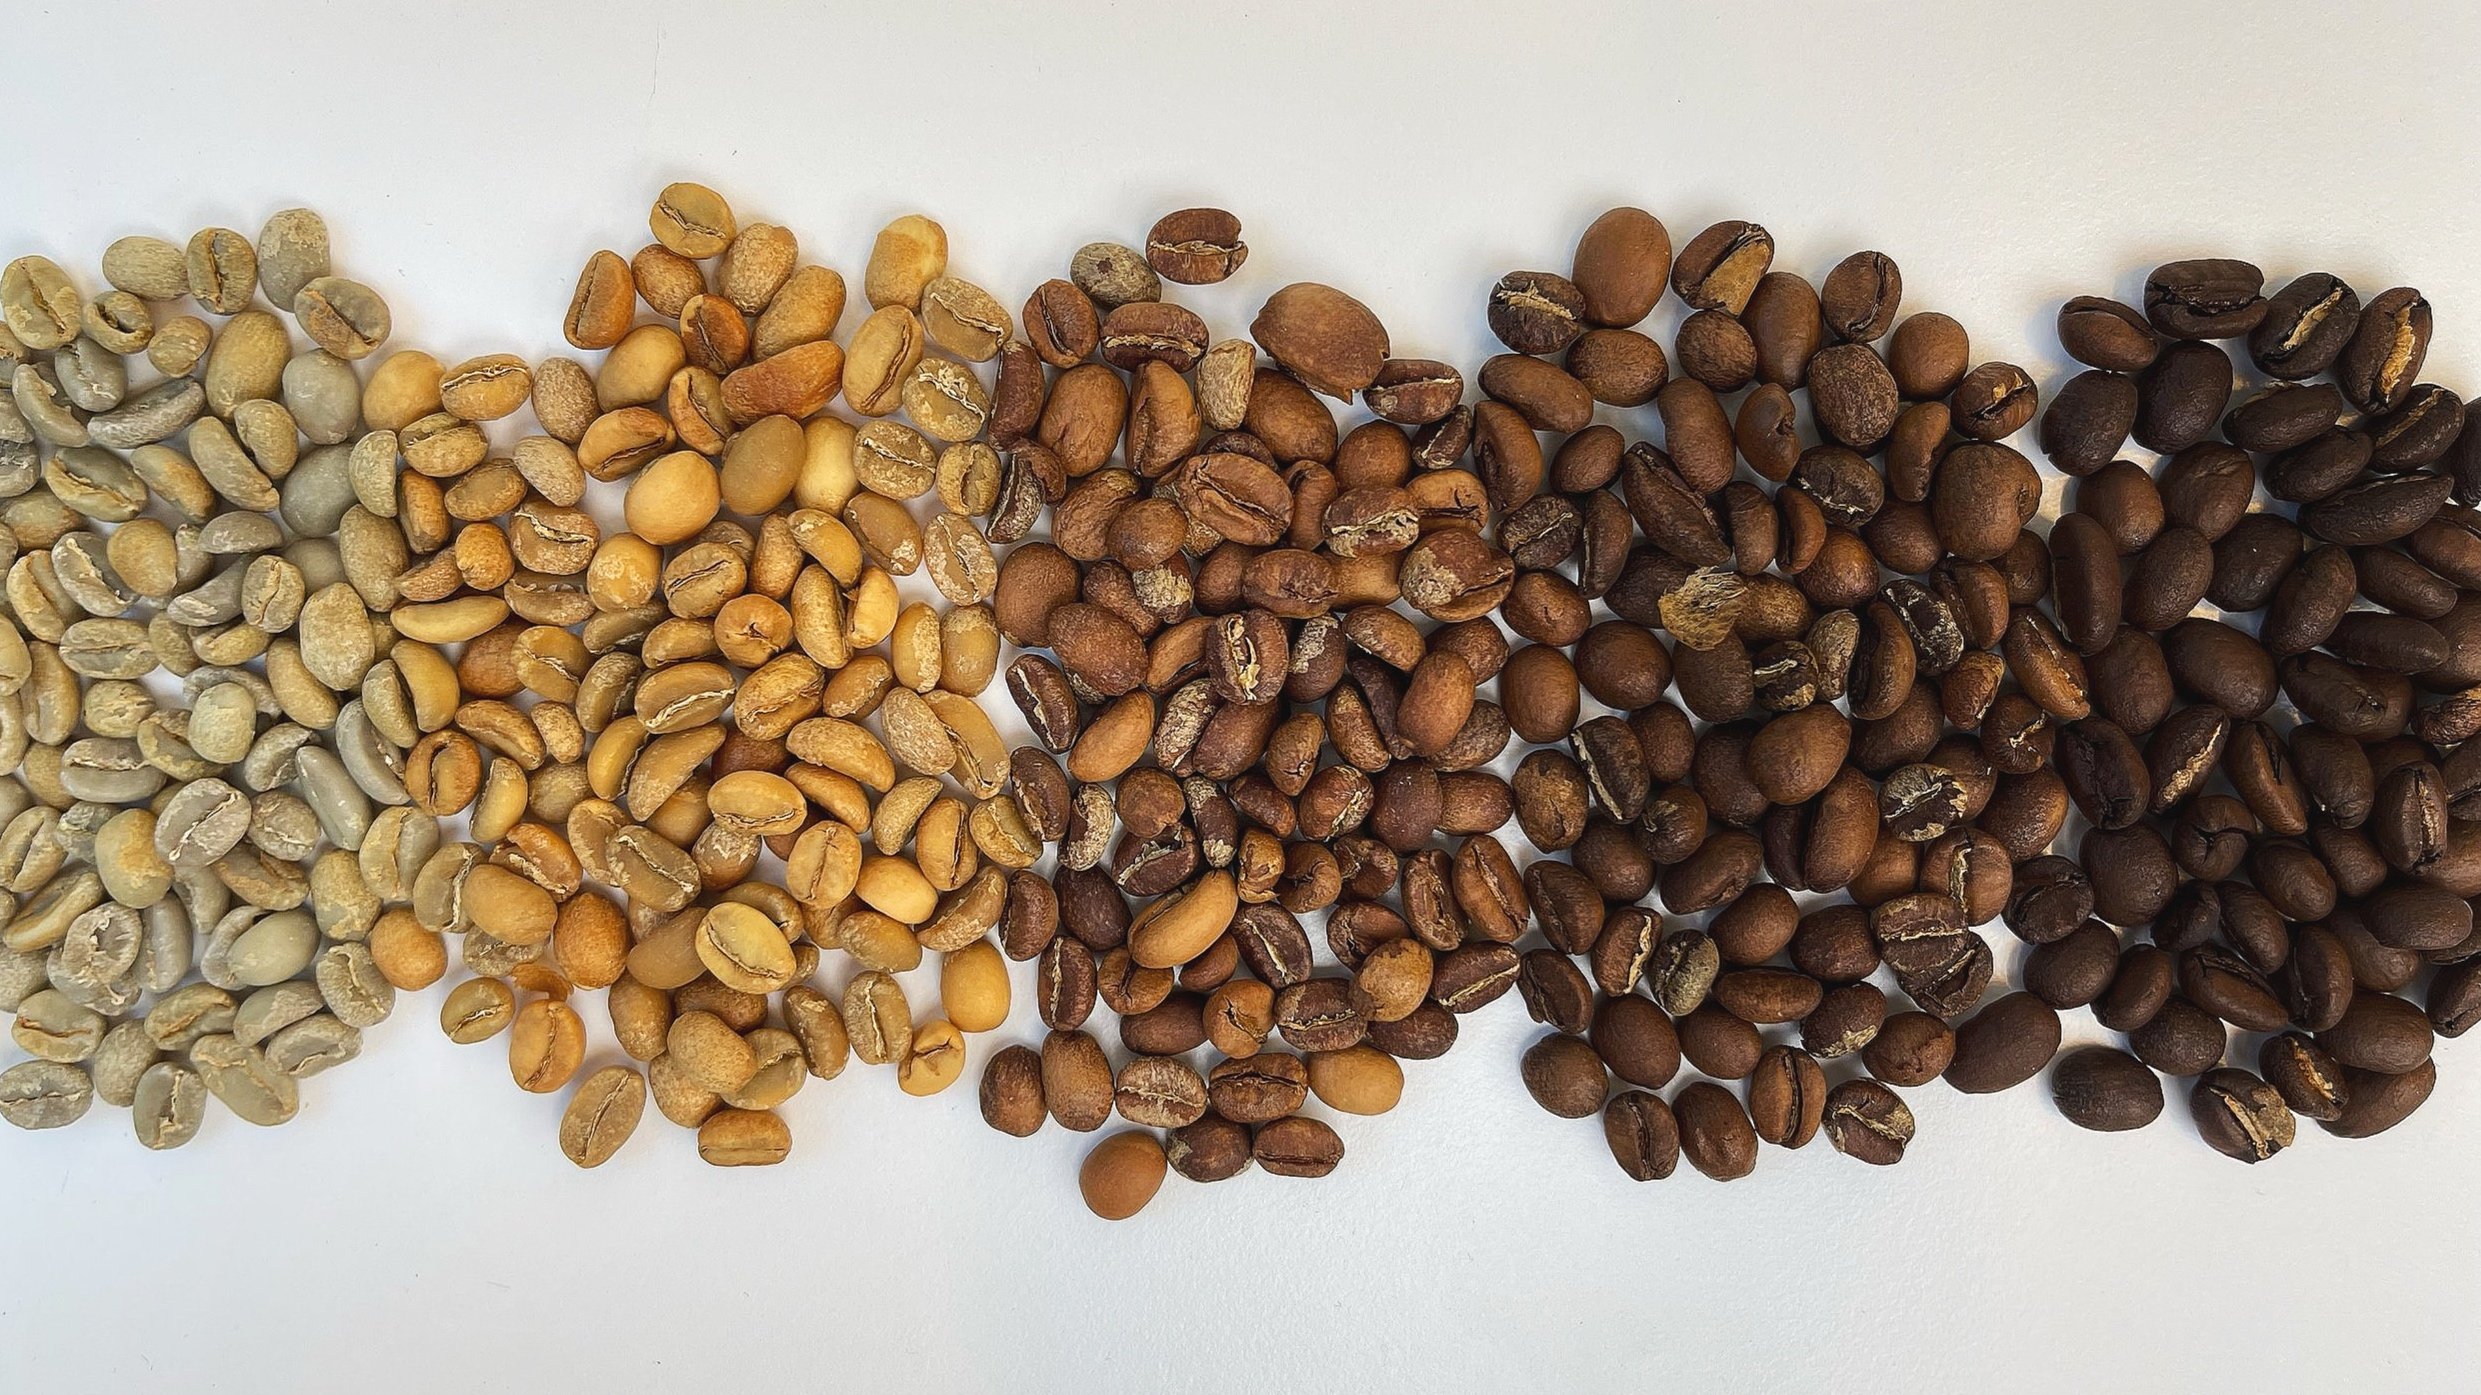
The first step of learning how to roast coffee is to recognize the progression and the different stages of coffee roasting. The technique itself - turning green coffee beans brown, is fairly simple. However, perfecting the skill requires careful application of heat and close observation. By noticing the subtle differences in size, aroma and color, you’ll have the ability to achieve different types of roast levels. So without further ado, let’s see how it’s done and dive into the stages of coffee roasting!
3 Main Roasting Stages
There are three stages in coffee roasting:
Drying
Browning
Development
Drying Stage
Green coffee beans typically contain about 10-12% water. It is essential to remove this moisture in order to enable the development of flavor in the following stages. Whether you’re aiming for a light, medium or dark roast - all coffee beans have to go through the drying stage.
Place the green coffee in your chosen coffee roasting appliance and use heat to remove the moisture. The coffee beans turn from green to a yellow color once completed.
Yellow Beans
If you take a sniff of the beans at this stage, you can notice the smell of grass and hay.
Wondering how to get your hands on green coffee beans? Christian Castricone, a home roaster based in Lausanne, Switzerland, shared some useful tips on how to get started! Read the blog HERE.
Browning Coffee Beans
On to the browning stage. Now this is when the real chemistry begins. You’ll know you’ve reached this stage when the coffee beans start darkening and the aroma is intensifying.
It is during this stage that the coffee beans experience something called the Maillard reaction. Don’t get shocked by the name, it’s not as complicated as it sounds. In fact, it’s something that happens to all kinds of food that gets browned; steak, toast, cookies - you name it!
The Maillard reaction refers to the chemical reaction between amino acids and reducing sugars, which causes a diverse range of aromas and flavors. So without getting into the scientific details of what exactly occurs during the Maillard Reaction - it’s safe to say that this reaction is what transforms a tasteless green bean to an aromatic and flavorful coffee!
As you observe the change of color, and smell the intensified flavors during the browning stage, what happens next is what roasters call First Crack.
What is First Crack?
First Crack is an audible ‘pop’ noise indicating when the coffee beans have split or cracked open. This is the result of gasses escaping from the beans, as the beans are forced to expand.
Final Stage: Development
The development stage is the period after First Crack until the end of the roast. A lot is happening during this stage - caramelization continues, oils migrate out of the coffee beans, and the beans continue to increase in size as the roast becomes darker.
The length of this stage depends on if you would like to create a light-, medium- or dark roast. You get to decide the aspects of the roast character, for example the level of acidity and body. Remember, you typically have less than two minutes to do this - so keep your eyes peeled during this crucial stage. Control the temperature carefully and keep it stable.
So should you keep it short or roast for longer? Well, it’s up to your preference. Here’s a summary of the three main roast levels and their characteristics to help you decide:
Light roast
Oil-free surface
High acidity
Fruity, floral, sweet flavor
Medium roast
Oil-free surface
Medium acidity and bitterness
Balanced flavors
Subtle notes of chocolate, nuts and dried fruit
Dark roast
Usually reached at Second Crack
Oily, shiny surface
Low acidity and heavy body
Bold flavor
Chocolaty, smokey, earthy notes
What do you prefer?
Medium roast is known to be more versatile and approachable, whereas light roast tend to reveal more complex flavors.
The differences between light, medium and dark roasted coffees are significant. That’s why we would recommend sampling these different levels and gain first-hand experience of how they differ. You’ll be amazed by how small changes in heat or time can bring out entirely contrasting flavors!
We hope this guide helped you get a better understanding of the roasting process, and perhaps inspired you to experiment with different roasting techniques!
Considering trying this at home? Read the benefits of home roasting to check if this lifestyle is for you!


